
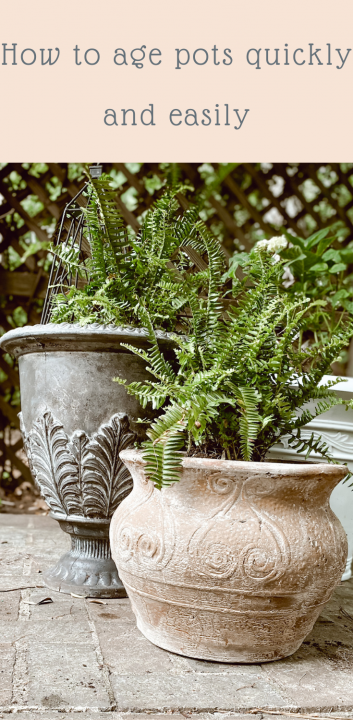
Have you ever wanted to give your flower pots an aged look? I love old flower pots in my space that look like they have been around for hundreds of years. Since I didn’t want to wait that long to get my aged pots, I set out to make my own. Today I’m sharing how I age my flower pots quickly and easily in one afternoon!
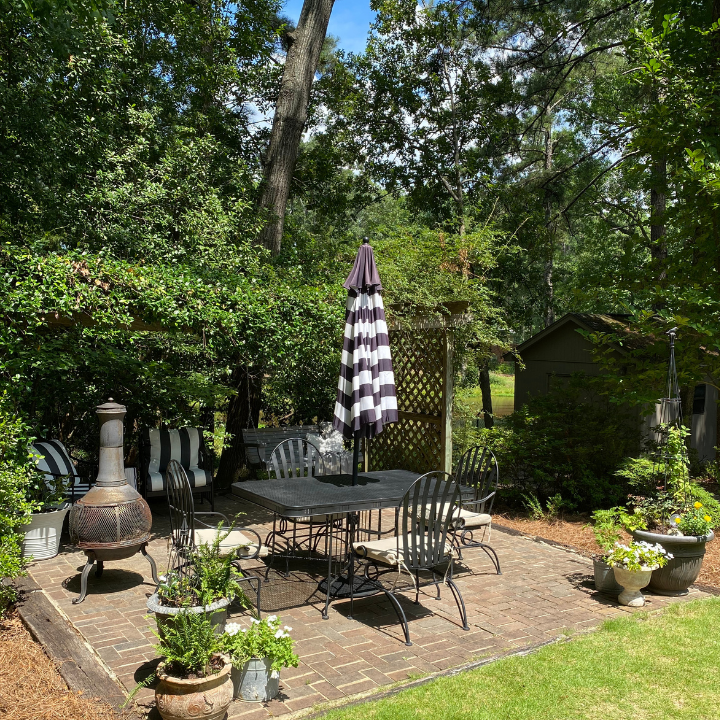
I wanted to include aged pots into my patio makeover. You can read about that makeover here. I set out to make aged pots quickly and easily with flower pots that I already had on hand.
The previous owners left behind some flower pots and I knew with a little imagination and some sweat equity I could create something beautiful. This process was very inexpensive and fun to create.
Watch How To Age Pots Quickly and Easily Here
Age A Flower Pot Quickly and Easily
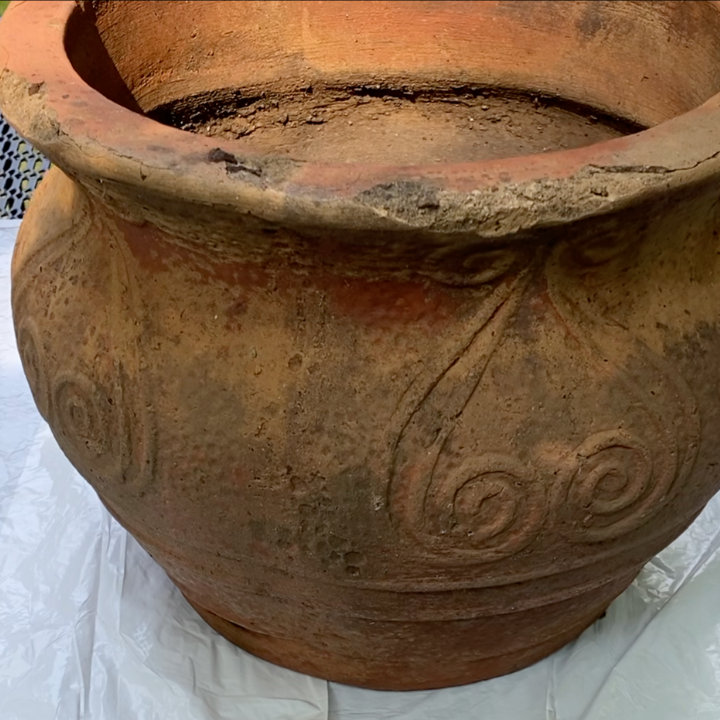
The first flower pot that I want to age is terra cotta and it already has a lot of character. It has a lot of chips and imperfections but the color did not work on my patio.
My vision for this pot is to create a finish that will resemble the old, aged flower pots in France.
This is the pot that I am working with today.
Age A Flower Pot Quickly and Easily: The DIY Process
This post may contain affiliate links.
I bought this product from my local garden center. It’s fairly inexpensive and it has other uses in your garden.
Garden Lime is used in gardens to adjust the Ph level of your soil. This product can be used to change the color of your hydrangeas.
Anyway, back on the subject of aging flower pots.
Age A Flower Pot Quickly and Easily
Supplies Needed
Steps To Age A Terra Cotta Pot Quickly and Easily
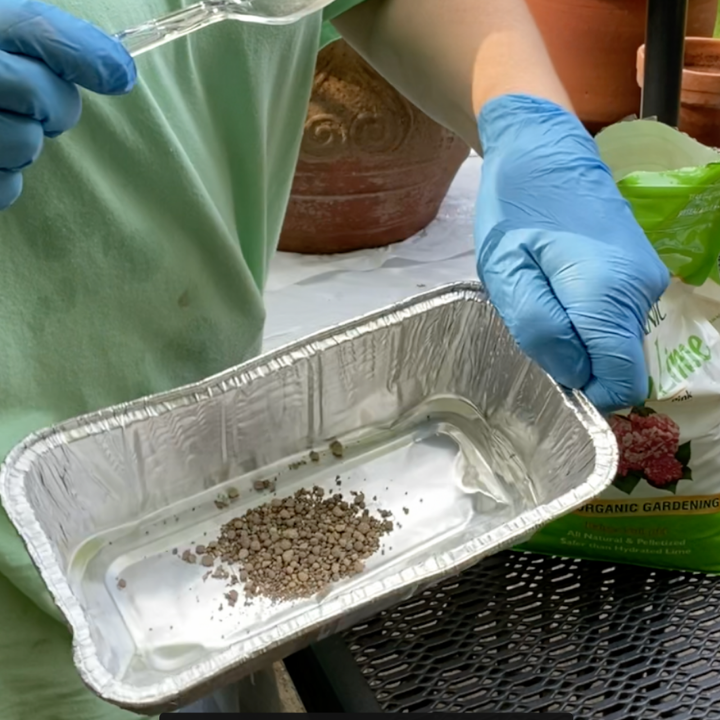
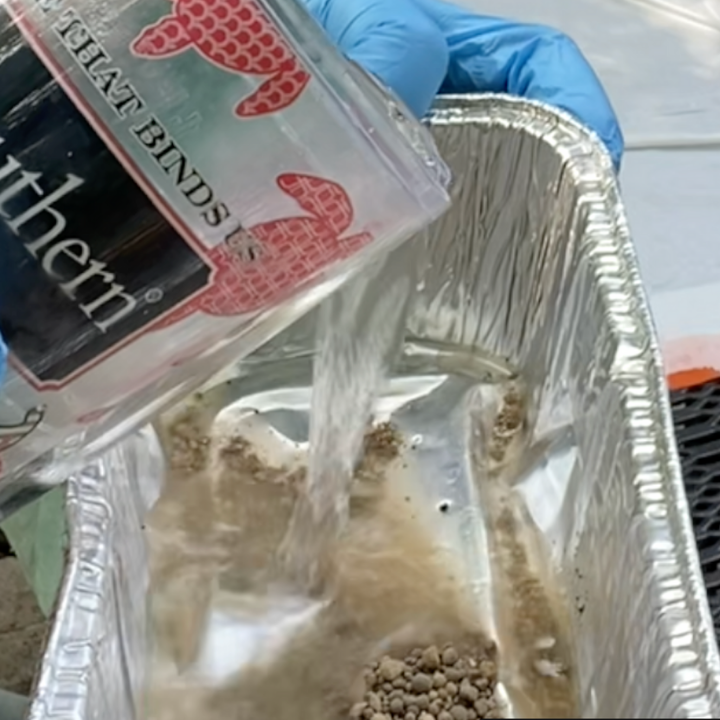
- Add 5-6 spoonfuls of garden lime to a container
- Add about 1/2 cup of water to make a mud like consistency
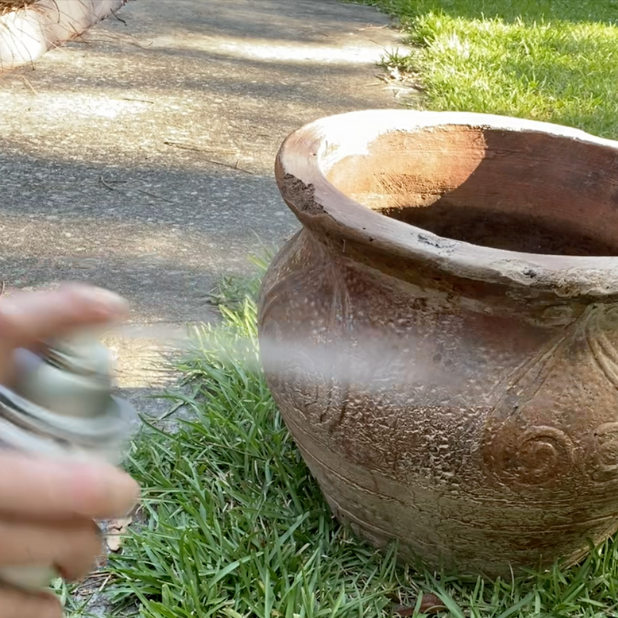
- “Paint” the garden lime onto your pot
- Allow the pot to dry
- Add sealer to protect your pot from the elements


How To Age A Plastic Flower Pot
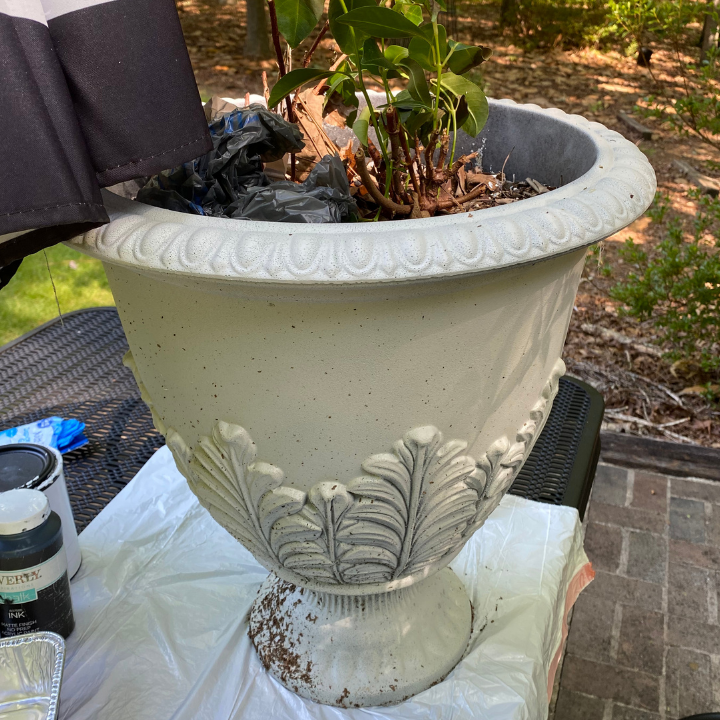
The other pot that I plan to age is an old plastic urn. It is still in really great shape but the color is not going to work in my new patio design. So I set to work to make it look like an old cement urn that had been outside in the elements for years.
DIY Process To Age Plastic Pots
This is the pot that I am using for this DIY. I did spray paint it white before I started taking pictures of the process. You could skip this step if you would like. I don’t think it’s completely necessary.
Supplies Needed To Age A Plastic Flower Pot
- Plastic Pot
- Container for Paint
- Gloves (optional)
- Black Paint
- White Paint
- Off White Paint (I used the color Putty)
- Gray Paint (you could mix black and white to make gray too)
- Sealer
Steps To Age A Plastic Flower Pot
- I started with a base coat of white and added black on top of that with a sponge. I added the black paint to the raised areas first. (Not pictured)
- I poured some of the black paint into my hands and applied it to the flat surface of the flower pot. I did not cover it completely.
- Next I added some off white paint to my hands and layered in spots over the black paint.
- I added some black paint to my white paint to give me gray and I layered that over the flower pot to mimic cement.
- If one area had too much of one color, I went back and layered another color to make it look old and grungy.
- After all of the paint dried, Then comes the fun part! I rubbed wet dirt all into the grooves of the flower pot. Do Not Skip This Step! It takes this DIY to the next level.
- When the dirt dried, I added a coat of sealer to protect it in the elements
- You do not want to be perfect. Imperfections make it look more realistic.


Admire Your DIY Aged Pots

Will You Age Your Flower Pots?
So tell me, will you try this process on some of your old, discarded flower pots? It’s such a fun process that saves you money and allows you to have a one of a kind flower pot.
Pin It For Later!
Your Friend,

Leave a Reply