
I love a good DIY and I have an old wood bed that is in desperate need of a makeover. Today I am sharing how I give this bed new life.
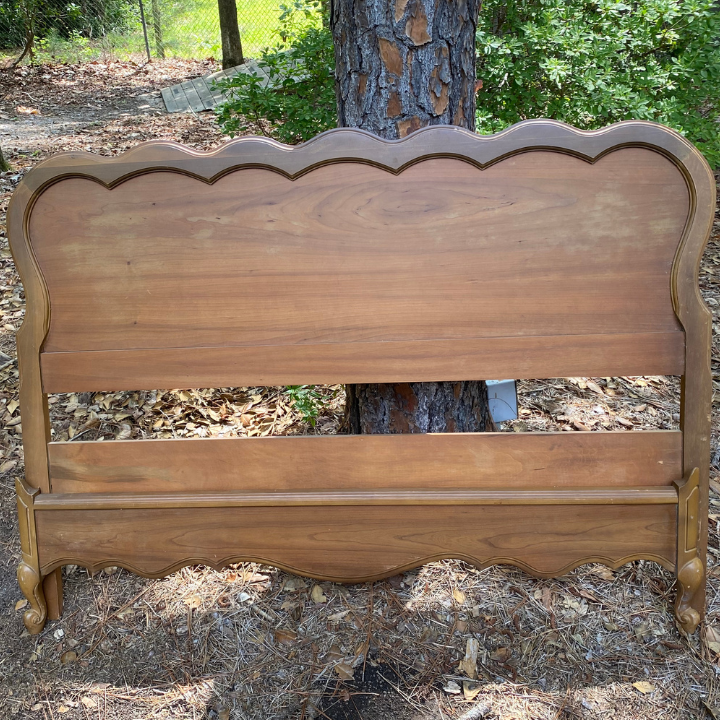
This was my bed before I got married and I have not needed to use it until now. It is very worn but it’s a beautiful piece and I knew that it had a lot of potential. However, it always just got pushed further back into the garage.
I love to reimagine old things and DIY them into something beautiful. You can read how I DIY’d these old forsaken flower pots here
Last week my family was planning a trip to our house and I needed another bed to be able to accommodate everyone. I instantly thought of this bed but it was in desperate need of a makeover so I started to look for inspiration.
Watch DIY Bed Makeover Here
The Bed That Is Getting A DIY Makeover
This post may contain affiliate links
Raw wood furniture is all the rage right now. I love the timeless look of it and how it looks with white. This look requires stripping stain off of the piece and that can be tedious and time consuming. I did not have a lot of time to spend on this makeover so I started weighing my options and deciding if I could get the light wood look that I love or just paint the bed. This is the bed that I am working on today.
I wanted a safe alternative without all of the harsh chemicals and I found this green cleaner and stripper.

DIY Bed Makeover -Safe Alternative To Strip Stain From Wood Furniture
With so many products on the market today to strip wood furniture it is easy to become overwhelmed. However, I wanted a safe alternative to strip the stain from the wood furniture. That one factor narrows my choices down. I had purchased this green cleaning product several months ago and never had the right piece to use it on. My makeover project was perfect to use this product on. This product also claims that it is safe and can get the job done so I decided to give it a try.
Please note that this product works better on older wood furniture that does not have a finish or a varnish on it.
Steps To Strip Stain From Furniture
I added my product to a clean spray bottle. Always follow the directions on these products. You have the option to dilute but I did not for my project.
After the product was in my spray bottle, I sprayed the bed frame making sure to get in all the areas of the bed. The product needs to stay on the piece of furniture for 5-10 minutes.

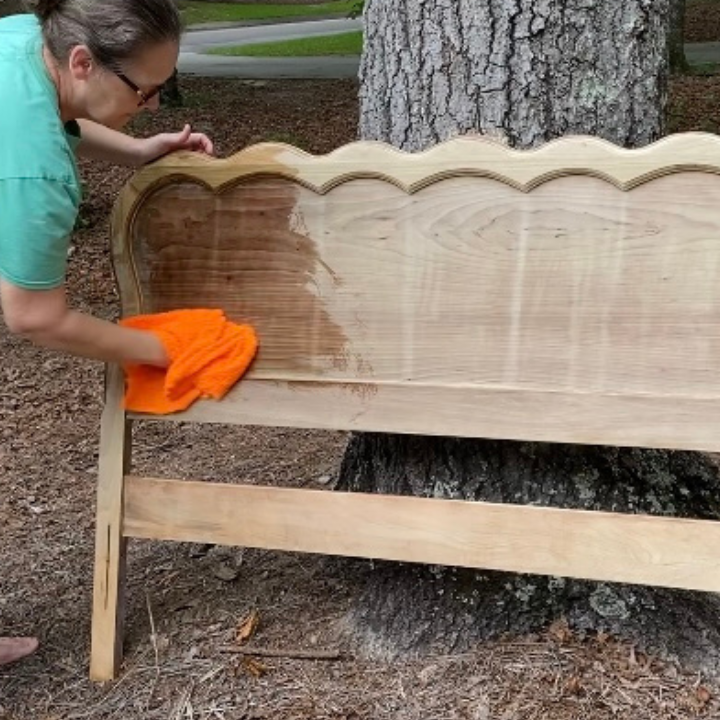
After you have waited the desired amount of time, then it is time to scrub the piece of furniture. I used this scrub brush and it worked great.
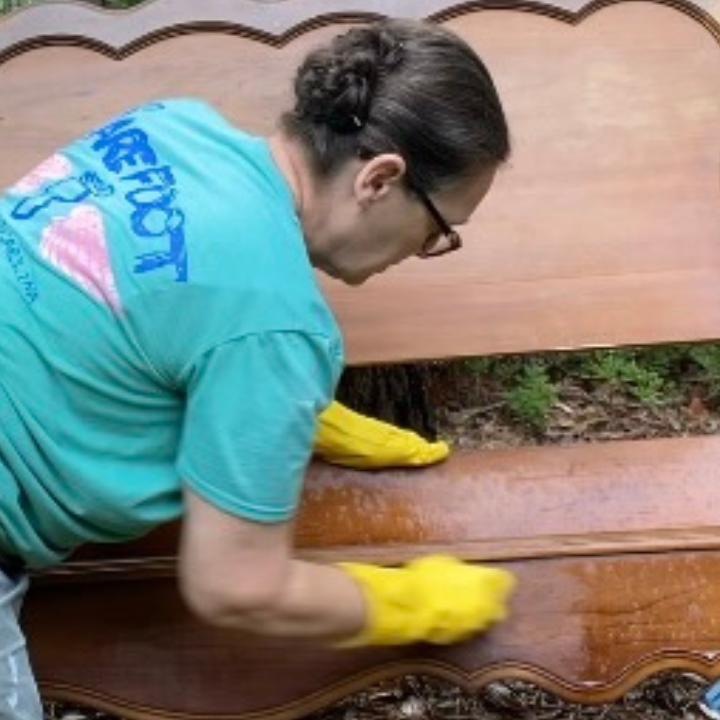
Then you want to make sure to rinse all of the cleaner from your furniture and let it dry.
I didn’t have any issues with rinsing the piece of furniture with the hose but be sure to let it dry completely and do not let it sit in water.
You can not tell what the furniture will look like until it’s completely dry. After the piece of furniture is fully dry you may need to repeat these steps until you achieve the desired look.
It took me 2 scrubbings for this bed frame. This is what the bed frame looked like after 2 applications of the Green EZ Stripper and Cleaner

Additional Steps To Strip Stain From Wood Furniture
This cleaner worked well to strip the stain from the bed frame. However the type of wood at the top of the bed had a green tint to it.
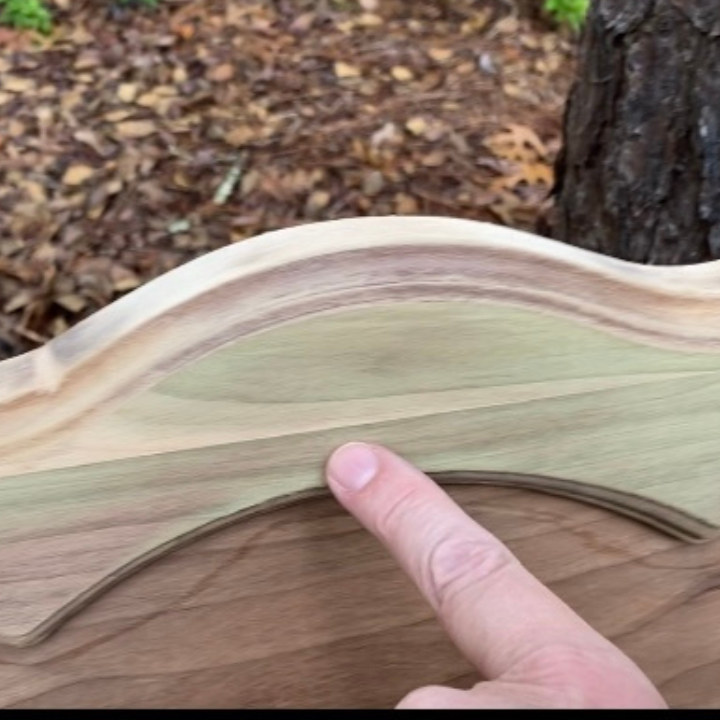
I read on the internet that Bar Keeper’s Friend removes this tint from wood.
I put some on a sponge and scrubbed it and it removed all of that green tint from the wood.
Bleaching The Wood
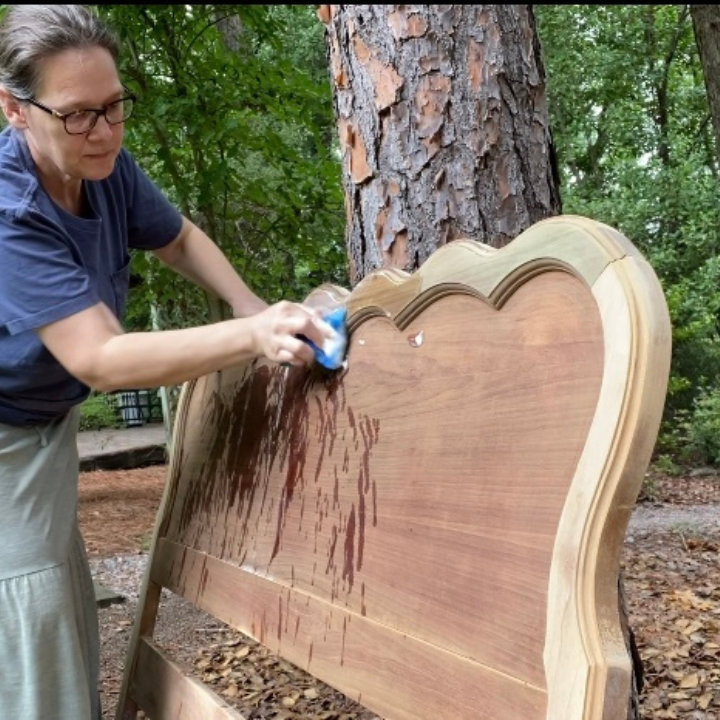
The next problem I had was the wood had a reddish tone on the main part of it. I wanted it to be lighter so I decided to bleach the wood and get that light wood look.
I put a small amount of household bleach in a container. Do not put bleach in a metal container and always work in a ventilated area.
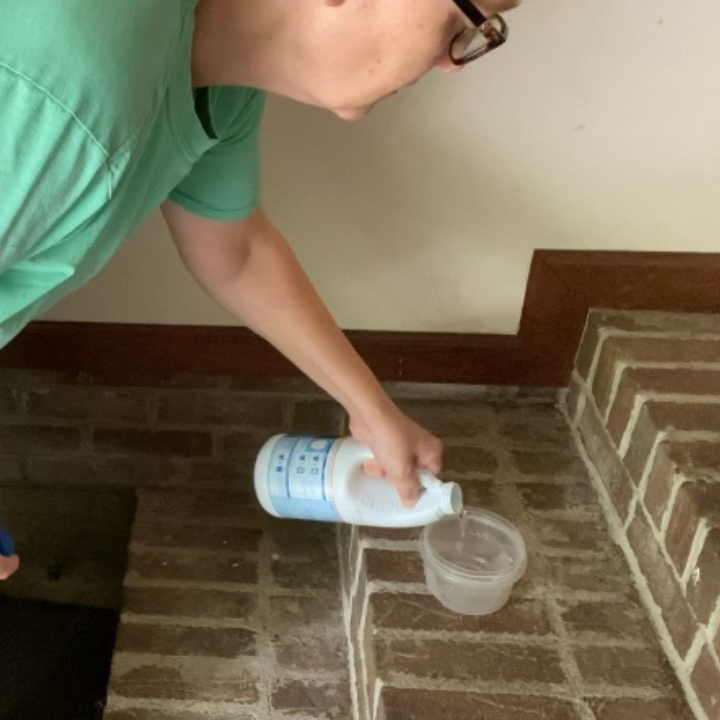
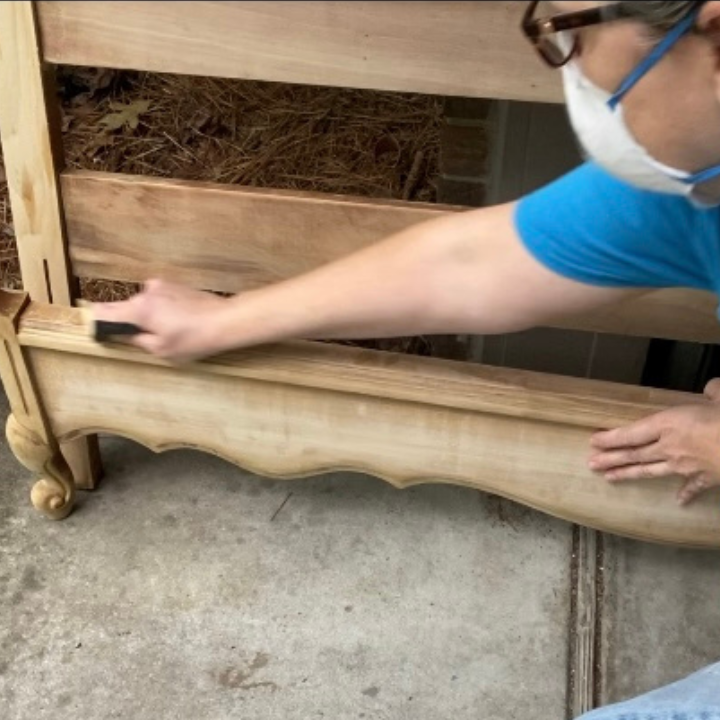
After making sure that your wood is clean and dry, brush on the bleach in even strokes making sure that there are no drips.

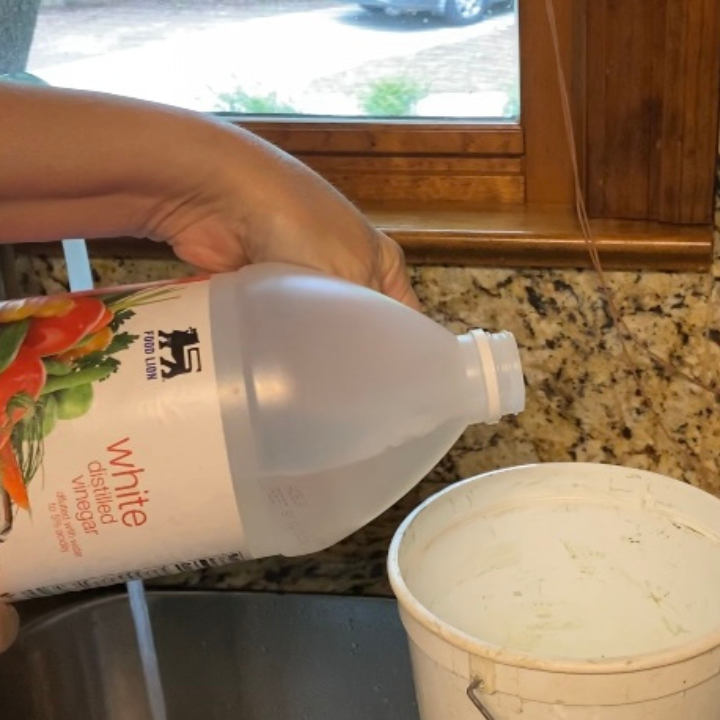
Allow the bleach to dry for at least 4 hours and then you have to neutralize the bleach. To do that, add a 50/50 solution of vinegar and water to a container and wipe the piece of furniture down with the solution.
The bleaching process does open the pores of the wood and makes it feel rough to the touch, so you will need to sand the piece with 150 grit sandpaper to give it a smooth finish.
I plan to add this wax to this bed. It will help protect the beautiful wood.
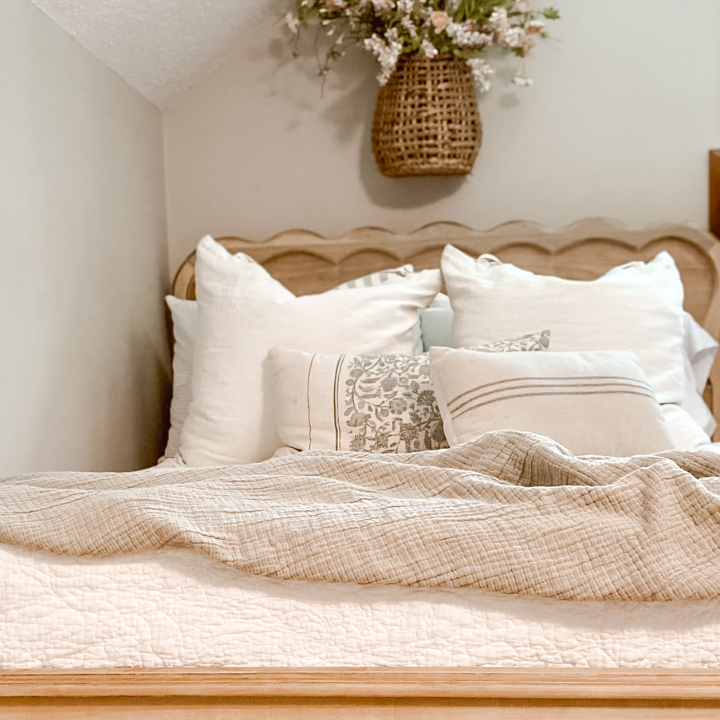
I styled the bed with gray and white striped sheet ,a white quilt, this blue pillow and this grain sack pillow. I love this classic and timeless look and I am so happy with how this bed looks now.


How About You?
Do you love this look and do you plan to use this product on any of your old forgotten wood pieces? I love this product and this process to get this raw finished wood look easier.
Your Friend,

Pin It For Later

The bed frame looks great! And I love the finishing decorative touches as well. I’d love to get into DIY projects especially as this will help me make use of what I already have rather than buy new. Your post helps inspire me to give it a go. Thanks for the helpful tutorial!
Thank you! I’m so glad that you found this post helpful!
It looks great! What a beautiful transformation.
Thank you so much!
Nothing better than a cozy bedroom! Lovely!
It’s the best!