
Today I am sharing some recent thrifted items that I upcycled and I am incorporating them into my home decor.
I shared a videoon my YouTube channel about upcycled thrifted home decor and it was a big hit with a lot of people. Because I love thrifting, I have several things in my stash that are just waiting for their big makeover. Today I am taking a few things and upcycling them from trash to treasure.
Watch Upcycling Thrifted Home Decor Items Here
Upcycled Thrifted Table Top To Lazy Susan
Recently, while out thrifting, I spotted this round wooden carved board. I wasn’t sure what it was used for but I loved the details on the wood.

On Instagram, I participate in Thrift with us Thursday. It’s a fun community where we all show what we found at the thrift store. I also share upcycled thrifted decor on my Instagram page. A sweet follower messaged me and told me this carved wood top was once a table.
My first thought was to turn it back into a table by just adding legs, but I don’t need a table.
Also the detail on this table is so beautiful to me so my second thought was to turn this table top into a lazy Susan.
How To Upcycle A Tabletop Into A Lazy Susan
This post may contain affiliate links. For my full disclosure click here
Supplies Needed to create a lazy Susan
The first step is to line up the hardware onto your tabletop and mark where the screws go.
Repeat this step on the wooden disc.
Next, drill a pilot hole so that the wood does not split when you drill the screws into the wood.
Repeat this step on the wooden disc
Install your lazy Susan hardware onto the top part of your wooden disc.
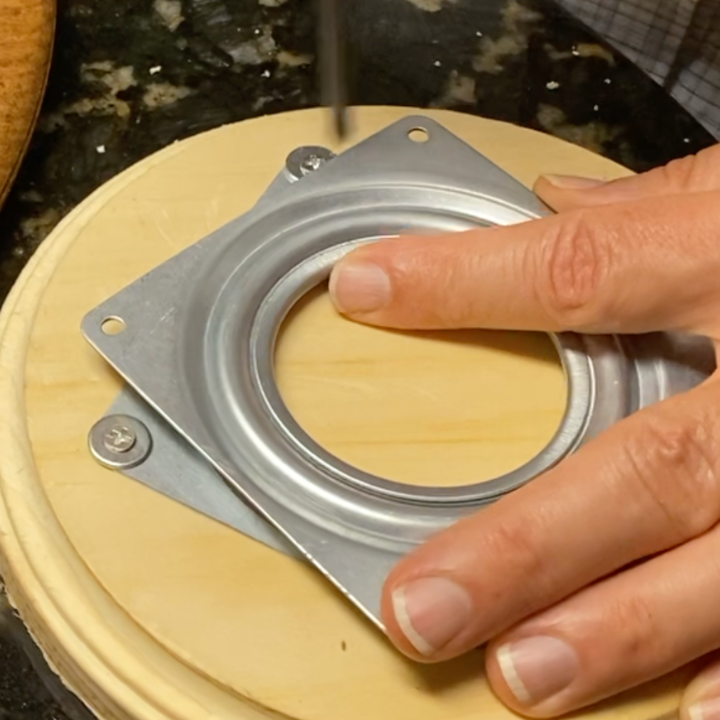
Using a larger drill bit, drill a hole all the way through the wooden disc. This will allow access to the screws that are under the wooden disc.

Turn the wooden disc over and using the large hole, secure the screws into your tabletop.

Turn the hole around to access each point that needs a screw.
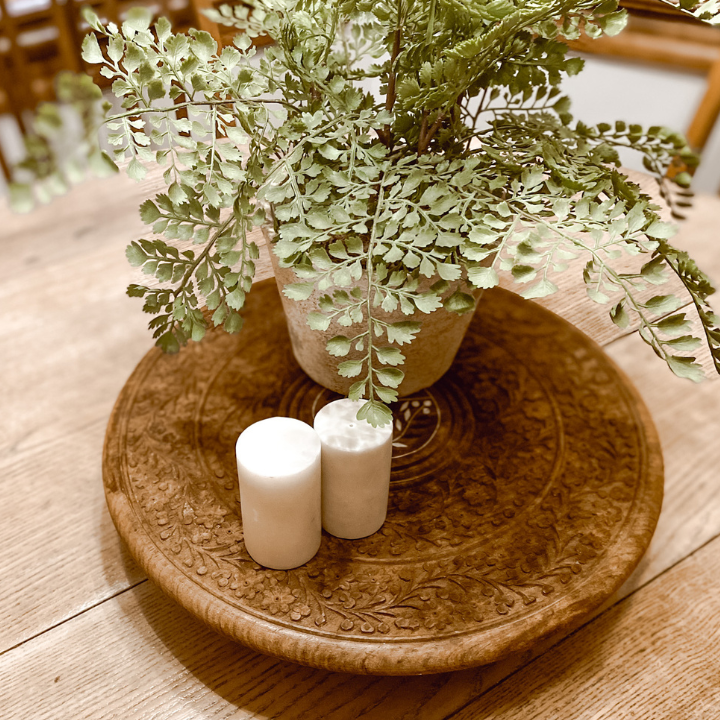
I used these felt rounds to cover up the hole and to protect the surface that the lazy Susan is place on.
I added my marble salt and pepper shakers and this green fern.
Enjoy your beautiful lazy Susan!
Upcycled Thrifted Sign For Home Decor
I found this sign at the thrift store and I picked it up because it already had the frame, it just needed a makeover.

A few months ago I found a very long strand of beads at a yard sale that were natural, green and red. I knew that I could use them for different crafts. I decided to use some of the beads and make them into the shape of a pumpkin.

First, I painted over the words. It took 2 coats of this paint
After the paint dried, I was ready to add my beads. The beads were applied with a hot glue gun and I tried to get the layout as close to a pumpkin shape as I could.
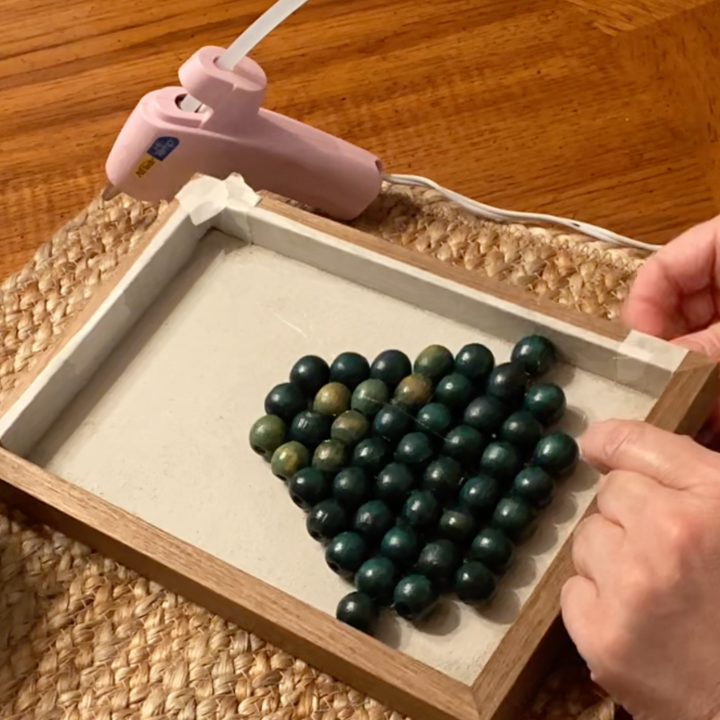
I also mixed some red and yellow paint with a hint of brown paint to make a shade of orange. I dry brushed the paint onto my beads with this brush to make it look more like a pumpkin.

Lastly, I added cinnamon sticks for a stem, lambs ear leaves and embellished my pumpkin with a bow.

Thrifted Bird Plaque Makeover
For the next upcycle, I chose this bird plaque. This sign had beautiful birds carved into it but they were not as visible as I thought they could be. I decided to give it a makeover and bring out the birds.

My first idea was to just give the board a black wash. If you are unfamiliar with black wash, it’s just a fancy way to say water down some black paint and paint it over the surface of something and then wipe the black paint back off.
The black wash was applied 3 times but the sign did not look the way that I had pictured it in my mind.

Since that didn’t work, I decided to paint the whole board black and then wax it with my white wax to bring out all of the details of the birds.

I think that it looks like a chalkboard and I love how it turned out.
My sister had a great idea to add greenery and a bow and use it for Christmas. Who knows, you may see this sign again in my Christmas decorations!
For the time being, I just added it near this vase and lamp and I love how the black board contrast with the light colors.

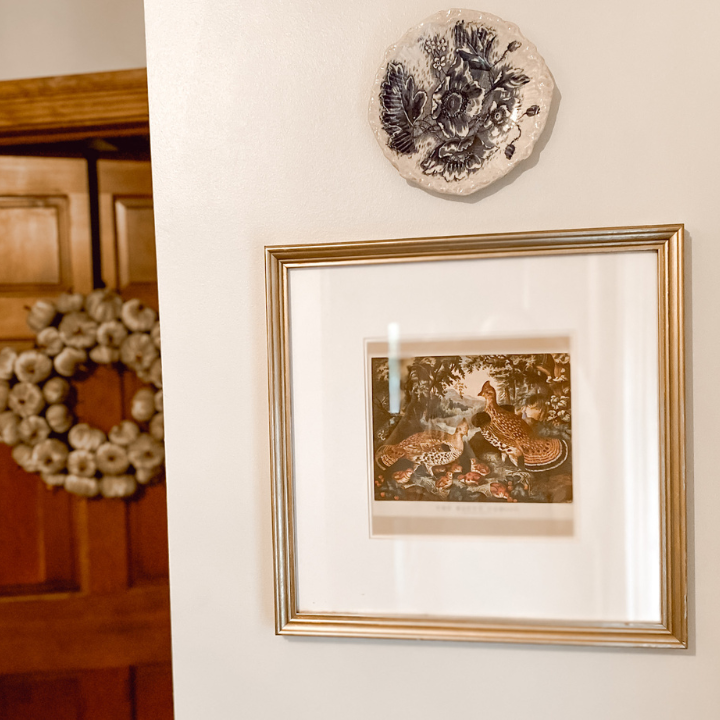
Thrifted Picture Frame Upcycle
This picture frame was probably great just like I found it but you know that I can’t leave well enough alone.

I loved the matted portion of this frame but the picture inside was a little too modern for my home.
This Currier and Ives book is one of my favorite items that I have found at a thrift store. It is full of beautiful illustrations. Some of them are in color but there are also beautiful black and white prints.
I found this print and thought it would be perfect for fall.

Since I wanted to reuse the backing, I carefully removed it from the frame. I then took the contents out and slid in my fall print. I put the frame back together and carefully hot glued the backing onto the frame. Since the frame was not the color I wanted it to be, I applied my favorite rub n buff with this brush.
Don’t you just love how it turned out?
Thrifted Wood Box Upcycle
This box had so much potential. It’s an old art box but it was very beat up and needed some TLC. I love the hardware on this box and knew that I wanted to reuse it.

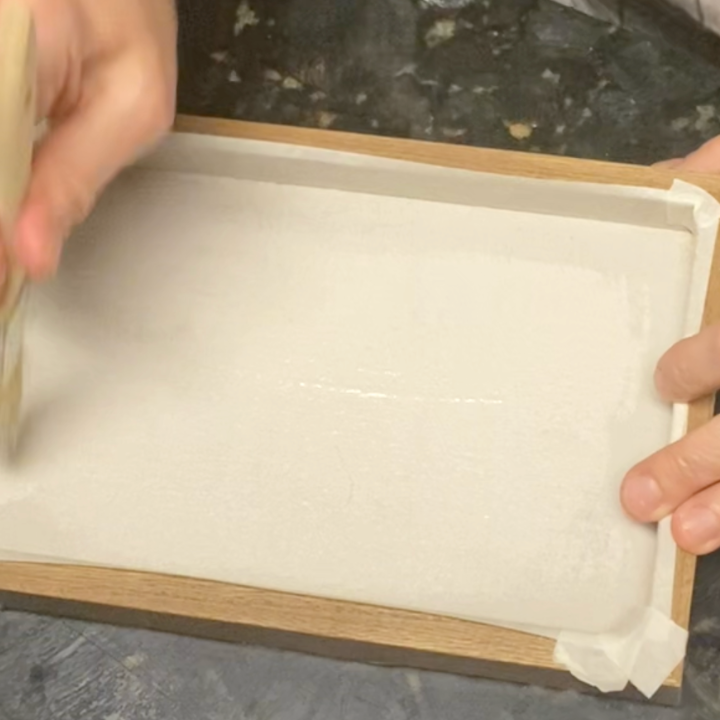
I had some marble contact paper left over from this makeover and I knew that it would be perfect to give this box a high end look.
It is easiest for me, when applying contact paper, to pull the backing off of a small portion at a time and smooth it with my hand and then remove all of the air bubbles with a credit card.
When I reached the sides, I simply wrapped it like a gift. I folded down the edges and then folded over the outer edges. Since it’s sticky, it works out great.
I used a little rub n buff to make the hardware look new and added it back onto my box.
Such an easy transformation and I love how it turned out.
What would you store in your box?
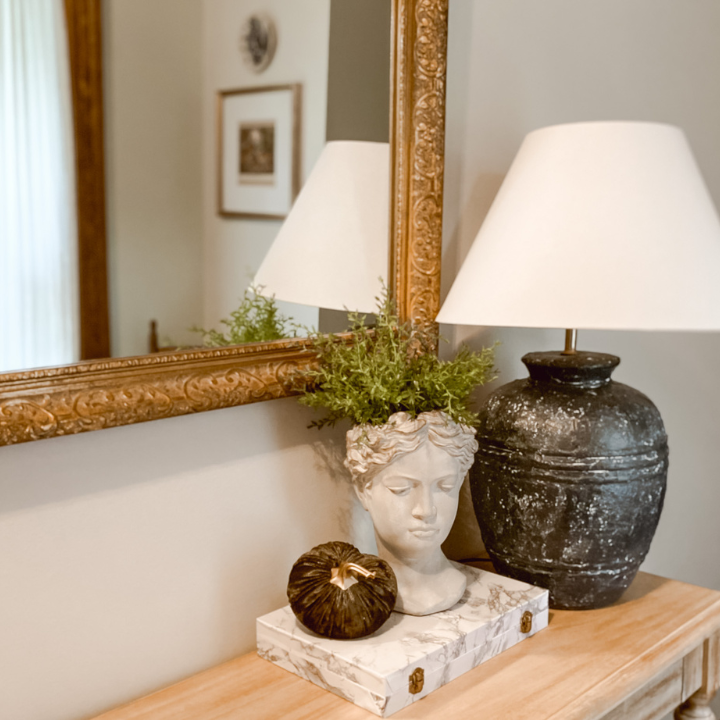
You can also see this thrifted lamp transformation here. I purchased the shade here, the pumpkins here and the head planter here. The console table is one of my favorite purchases and the mirror was a find at an antique store.
Do You Enjoy Upcycling Thrifted Items Into Home Decor?
I love upcycling items that I find at the thrift store. Which one was your favorite upcycle?
Hopefully you found some inspiration here today. I would love to know what you have upcycled.
Your Friend,

Pin It For Later!

Leave a Reply