
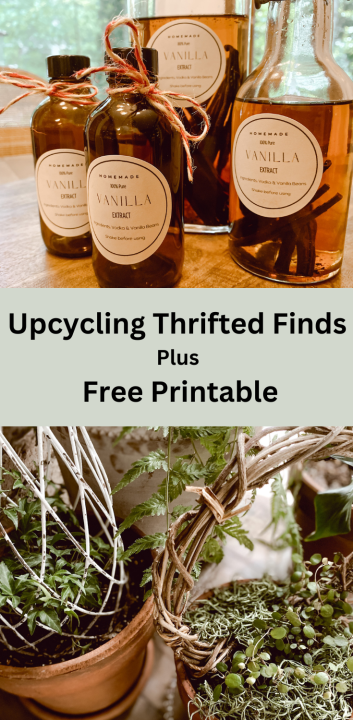
Upcycling thrift store items is a hobby of mine that I love so much. Today I am going to show you how I upcycle some thrift store items.
What is upcycling?
Well, I am glad that you asked. My definition of upcycling is the art of reusing an object to create something different than the original. This art keeps donated items out of the landfill and can also help you to decorate your space on a budget.

This post contains affiliate links. For my full disclosure, click here
I really enjoy heading to a thrift store and finding the treasure that I have been on the hunt for. It’s the thrill of the hunt for me. But sometimes while at the store you find something that you like and it’s the right style for your space but not the right color. Or you may find a picture frame that you love but the art is all wrong for your space. I upcycled some items here and here.
Watch Upcycling Thrift Store Items Here
Upcycling Glass Bottles
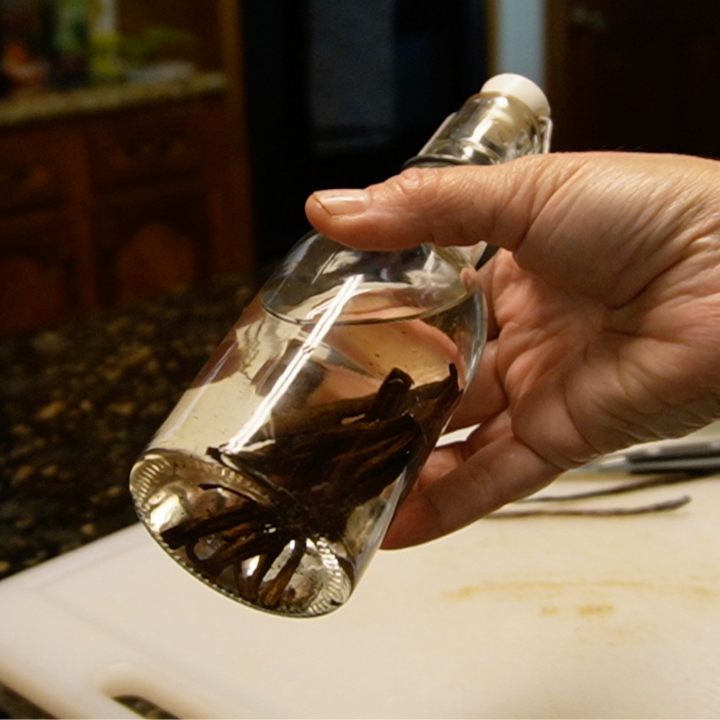
I found these nice glass bottles recently at the thrift store. After they were washed out they were ready for homemade vanilla extract.
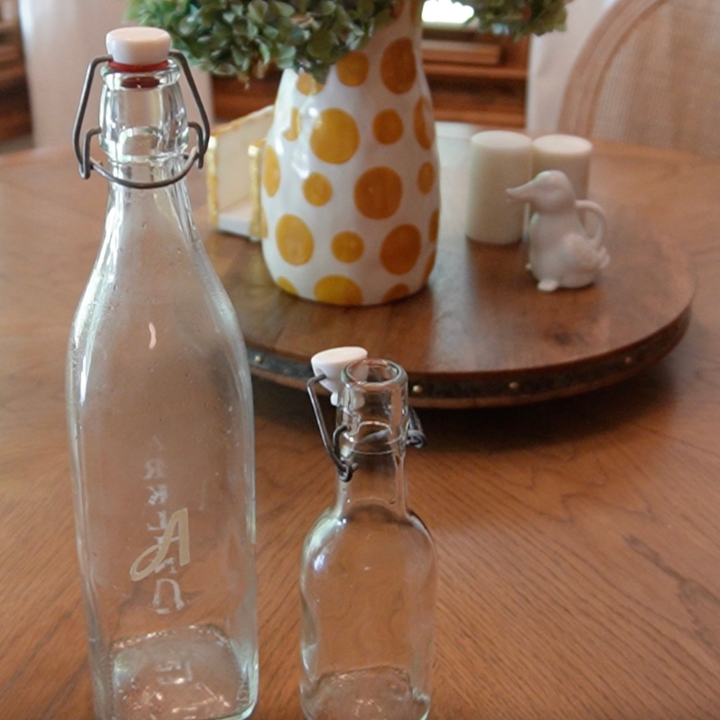
I thought they would be perfect containers for my homemade vanilla extract . They have the perfect lid and I could store my homemade vanilla extract in them until time to divide the homemade extract into small bottles to give as gifts.
How To Make Homemade Vanilla Extract
You only need two ingredients to make homemade vanilla extract! Did you know that it was that easy to create a homemade extract that will take your baking to the next level? The two ingredients that you need are
- Vodka
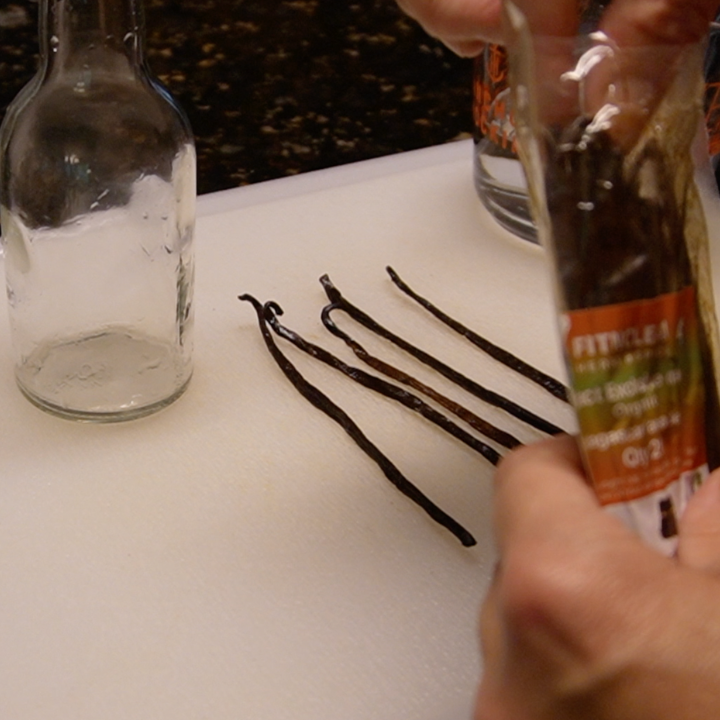
- Vanilla Beans
You will also need
- Sharp Knife
- Cutting Board
- Funnel
The rule of thumb for making homemade vanilla extract is 6 beans per 8 oz. of alcohol. Since my small bottle was 8oz. I used 6 vanilla beans.
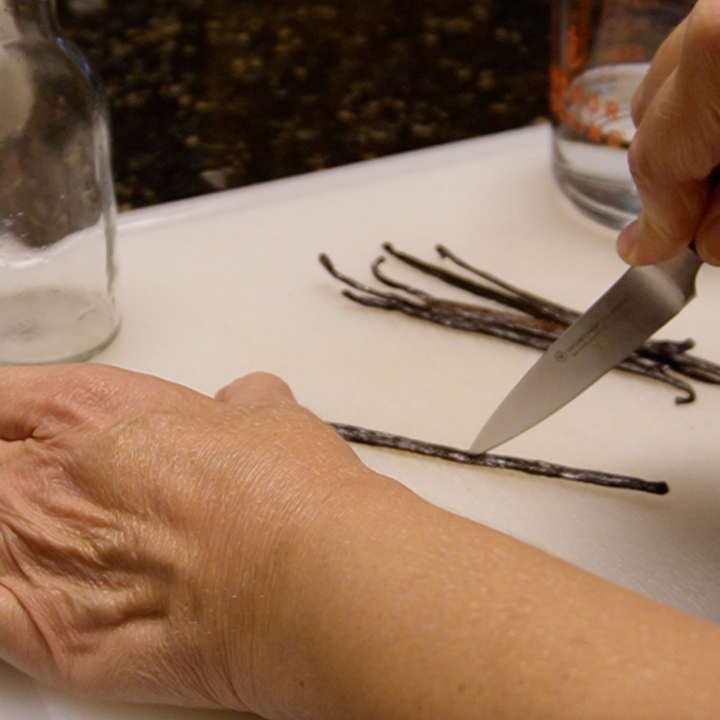
Start by cutting your beans down the middle with the sharp knife. This will cause the beans inside the pod to be exposed. This is good since these are the beans that will infuse into the alcohol and give the flavor to your extract.
After you have finished slicing the beans, add them to your bottle or jar.
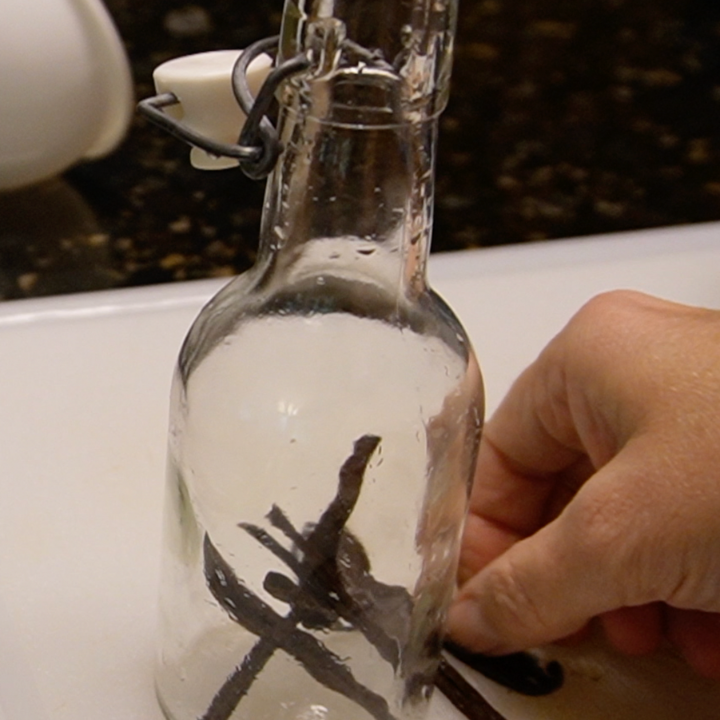
Add the alcohol to your container, making sure to cover the beans.

The beans did have to be cut in half so that they were completely covered by the alcohol. If your beans are not completely submerged in the alcohol they could mold and you would need to throw away the extract.
Next, close the airtight lid to your bottle.

Shake your homemade extract and add to a cool, dark space and let it steep for 4- 6 months before using.
The vanilla extract will need to be shaken once a week.
Homemade Vanilla Extract For Gifts
Giving homemade gifts for Christmas is one of my favorite things to do. I do believe that this homemade vanilla extract will make a lovely gift for the holidays. I plan to divide the homemade vanilla into these amber bottles, add some festive ribbon and affix a label to the front of the bottle and gift it to our friends and neighbors.
Homemade Vanilla Extract Labels Download
I have created a label to add to my bottles and I print them on these labels. As a way of saying thank you, we are making these labels available to you here
Upcycling Grapevine Wreaths
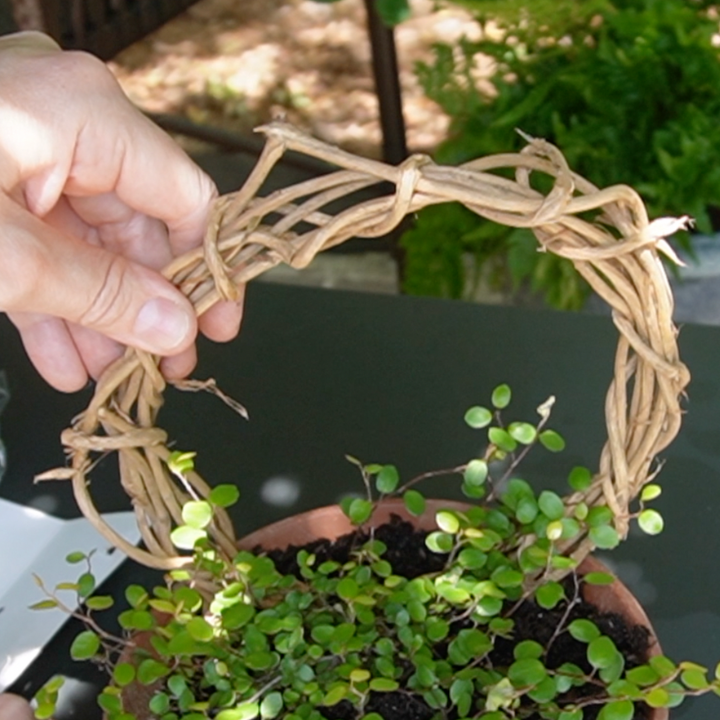
I bought these cute grapevine wreaths recently and knew that I could create something with them.
Then I found these angel vine plants at my local nursery for $1.50 and I decided to create an angel vine topiary.

I planted the angel vine in a terra cotta pot that I had lying around


added my wreath with floral pins
and styled it on my table on my screen porch.

I also styled one by placing it on a stack of books and making an instant vignette.
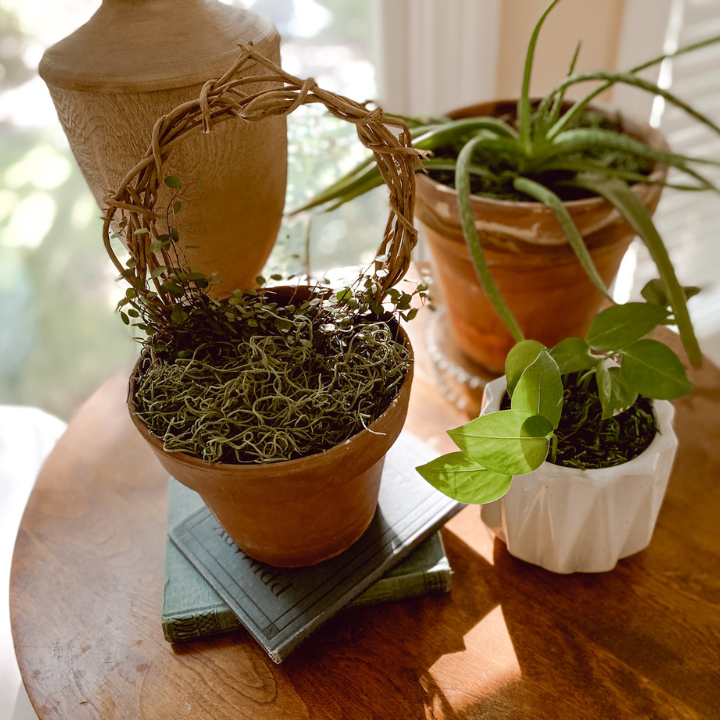
I think it’s perfect.
Upcycling Picture Frames
Picture frames are so inexpensive and so plentiful at thrift stores. When I found these round frames I knew what I wanted to do with them.
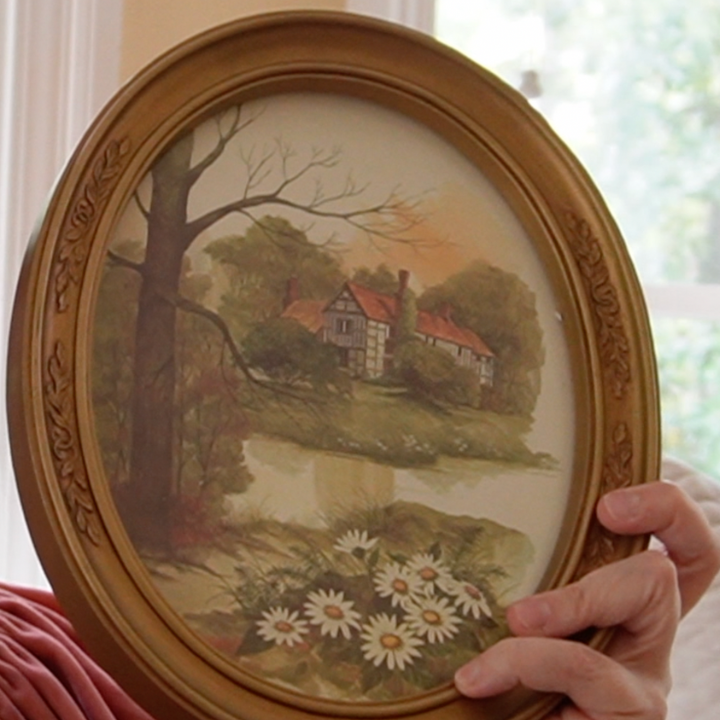
I had these silhouettes made of our daughters years ago and I thought they would be perfect for the frames. You can purchase silhouettes here. I also painted the frames black with this paint.
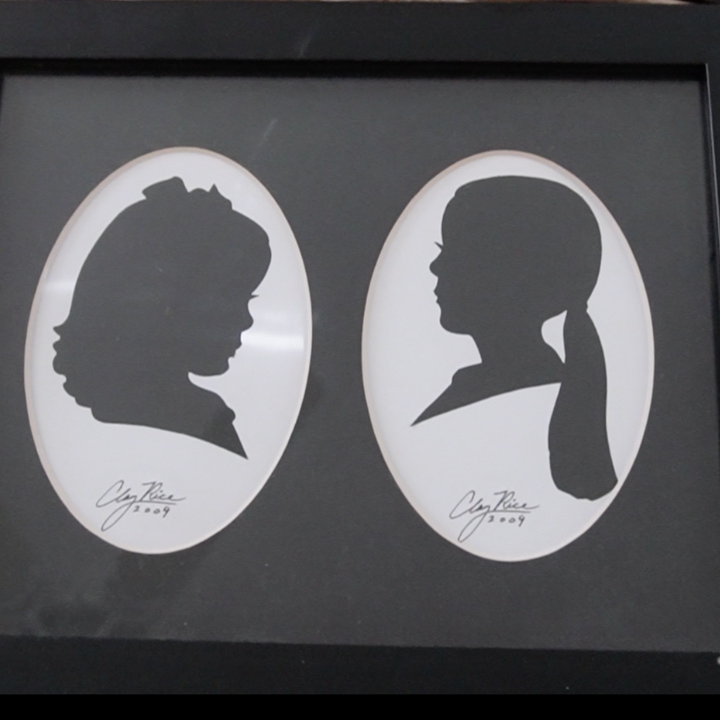
I also painted the frames black with this paint.

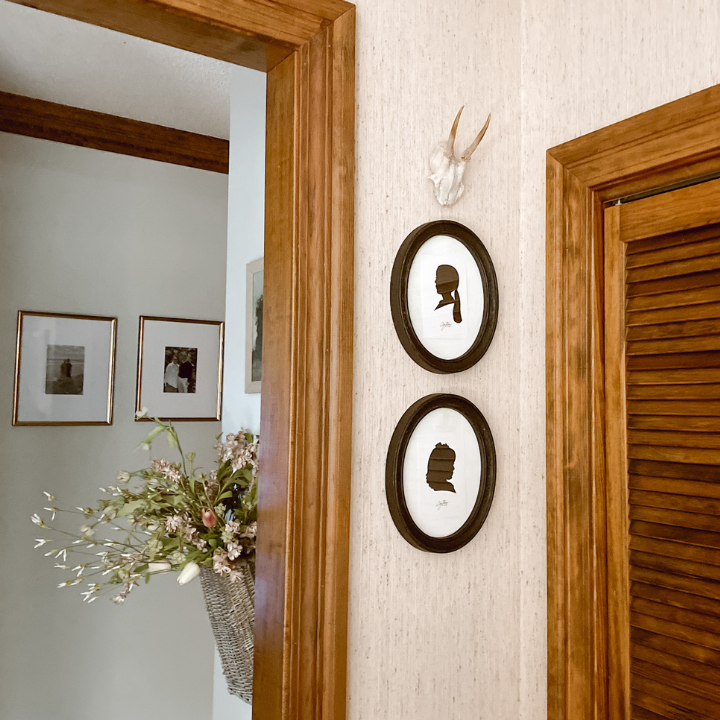
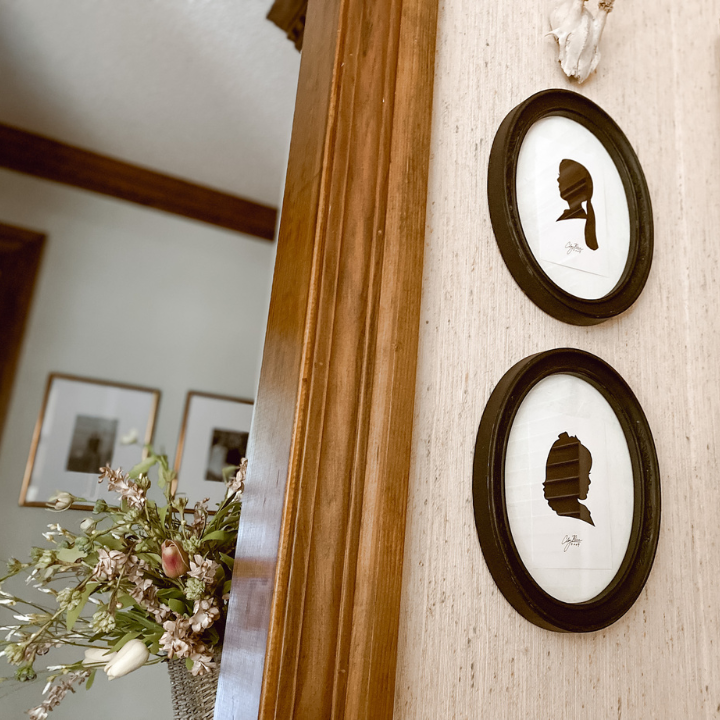
After the frames were painted, I waxed them with my favorite clear wax and added the silhouettes into the frames. If you don’t have any silhouettes of your own you can purchase some here and here.
I hung them in our family room with my favorite antlers and I love how they turned out.
Are You Upcycling Any Thrift Finds?
I would love to know what your are finding at the thrift stores and how you are upcycling it to use in your home.
I hope that you have the best week!
Your Friend,

Pin For Later
Leave a Reply