
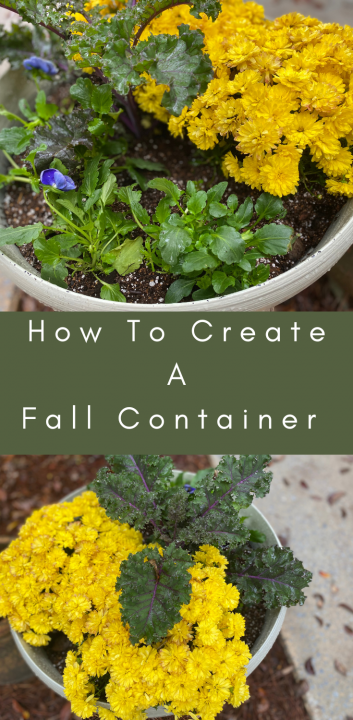
I love the colors of fall and I enjoy combining those colors into a container. Today I am going to teach you how to create a fall container.

Watch How To Create A Fall Container
Where Do I Start To Create A Fall Container
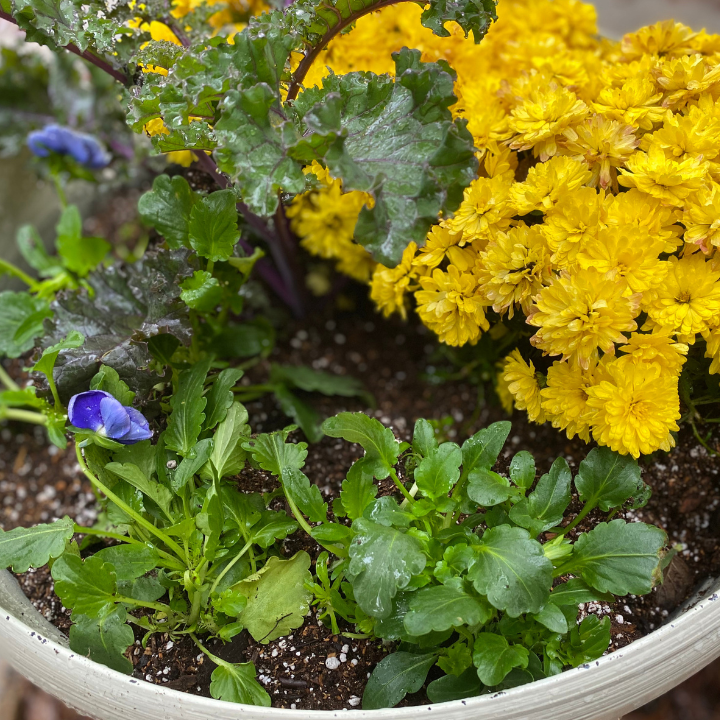
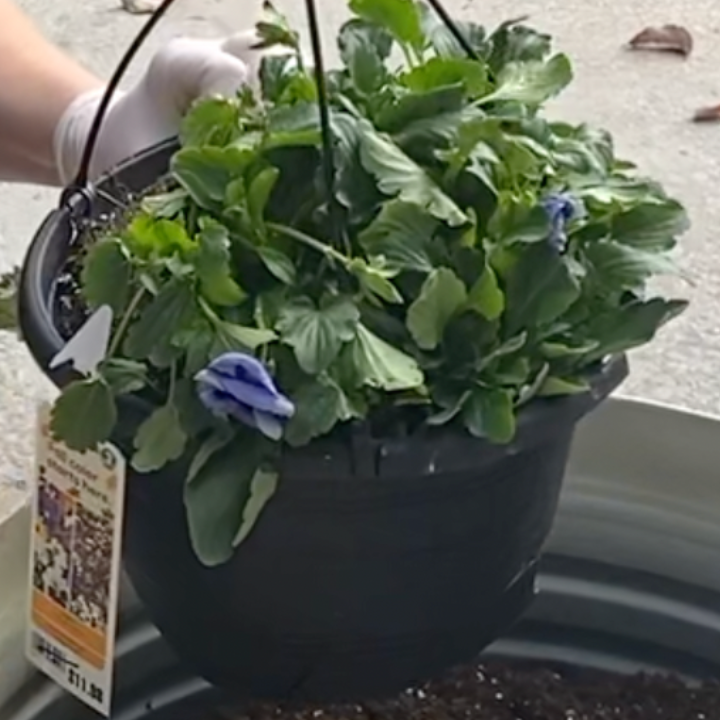
The first thing I do is shop for the flowers that I am going to include in my container. For fall I love to combine mums, cabbage, kale and pansies. I pick out colors that coordinate with each other and will look stunning in a large flower pot.
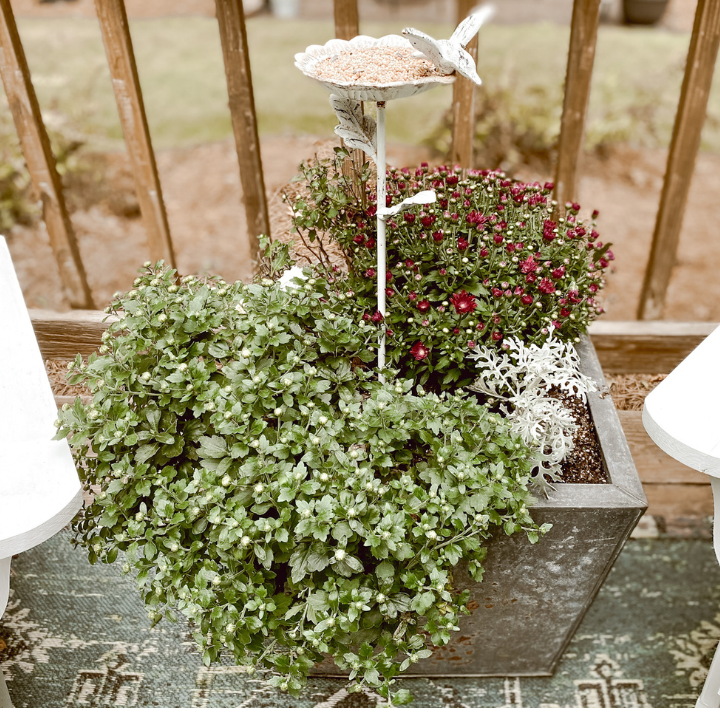
My rule to create a stunning fall container is to choose a thriller, filler and spiller. The next question you have for me is what is a thriller, filler and spiller?
A thriller~ A flower that is upright and is the focal point of the fall container that you are creating.
A filler~ A flower that has beautiful color and fills in all of the space and covers up the soil.
A spiller~ A flower the drapes over the side of the fall container.
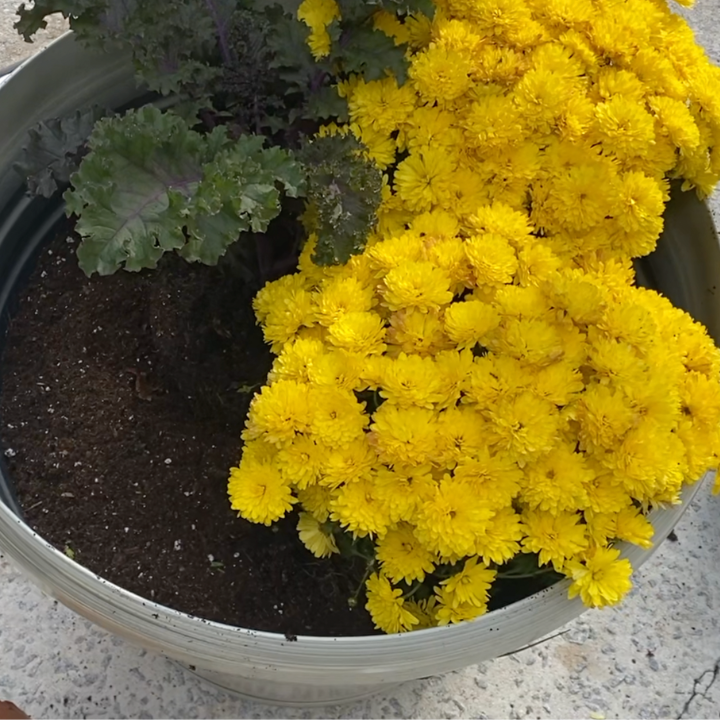
For this container, I chose green cabbage (thriller) yellow mums (filler) and yellow and purple pansies (spiller). A good rule of thumb to follow when buying mums is to buy them when they have buds, not when they are in full bloom. This small tip will guarantee a longer bloom time. If you keep your mums watered they will last well into November.
I have more tricks on how to keep mums alive longer on this post here.
How To Choose The Right Flowers For A Fall Container
This step is entirely up to you and your preference of colors. However, make sure that the flowers that you are planting together have the same light and water requirements. You can find this information located on the flower identification tag located on the side of the planter.

Choosing plants that require the same amount of light and water will set you up for success and you will have happy flowers.
I always keep my plant identification tags and I store them in the pocket of my planner. They are always accessible if I have a question about a particular plant. You can read more about my gardening tips here.
How To Begin Planting A Fall Container
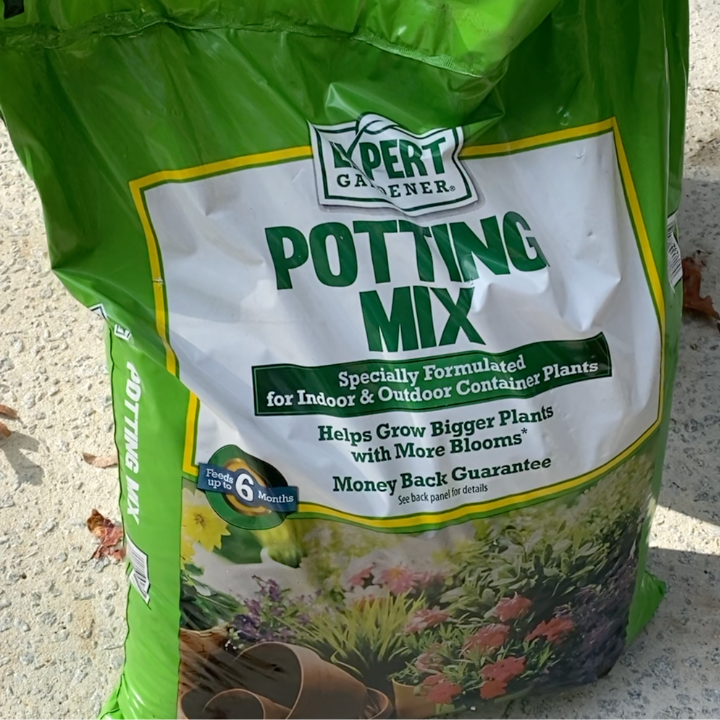
The next step to creating a fall planter is to purchase a bag of potting mix or potting soil. They are the same thing but sometimes they go by different names. Make sure that you are buying potting soil because it has the proper nutrients that your containers need. I like this mix and this one.
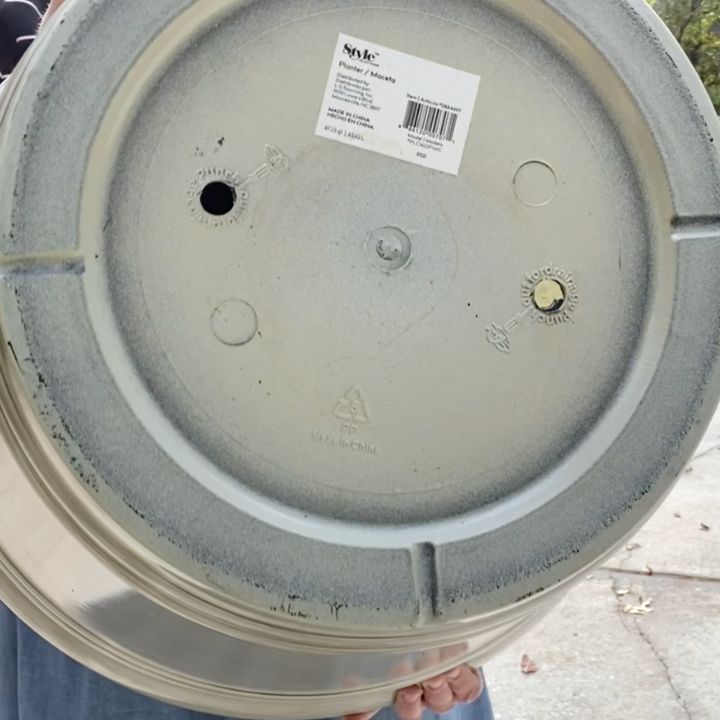
Always, Always, Always make sure that your container has drainage holes. Most of the time the containers come with drainage holes but if yours does not have proper drainage, you need to create it.
How To Make Drainage Holes In The Fall Container
Oftentimes a container comes with drainage holes and you just need to take a screwdriver or a drill and knock out the plug to create drainage holes. This container had the plugs and I just knocked them out with a drill and a drill bit.

In other cases, a container does not have drainage holes and you need to create some by using a drill, drill bit or a screwdriver. Be careful when you do this.
Steps To Create A Fall Container
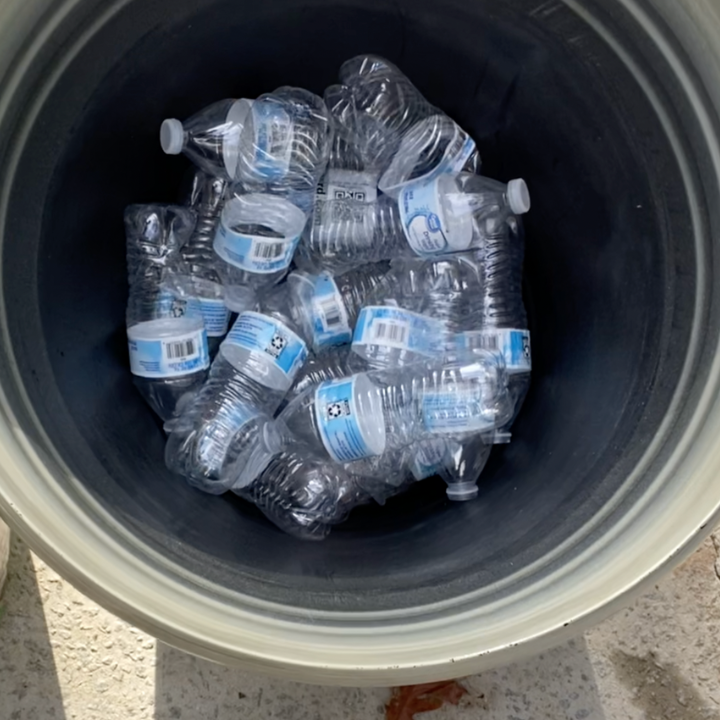
One of my favorite garden tips that I have been using for years is to fill the bottom of your container with recycled water bottles. It not only takes up room in your container so that you do not need to use as much potting soil but it also makes your container lightweight. I shared some other tips for gardening here.
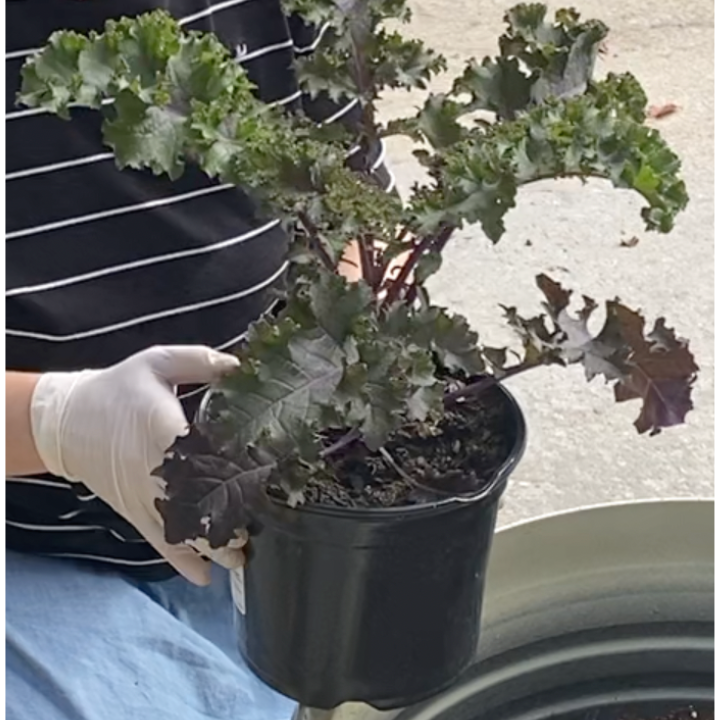
The first flower to add is your thriller. I like to add this plant right in the middle of my container so that it can make a statement.
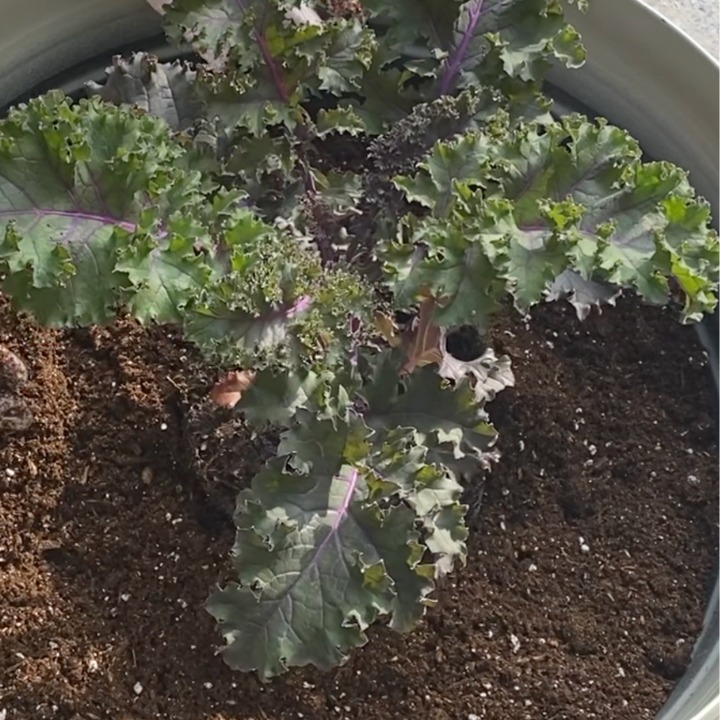
The second flower to add is your filler. I add these around the thriller and depending on size, I usually add two of these.

The third flower I add are the spillers. I tuck these around the edge of the container so that when they start growing they will cascade over the side of the container.
After you have added all of your flowers, give your fall container a good watering and move it to it’s proper location so that it can receive the correct amount of sunlight. Enjoy!
Your Friend,

Pin It For Later
Leave a Reply